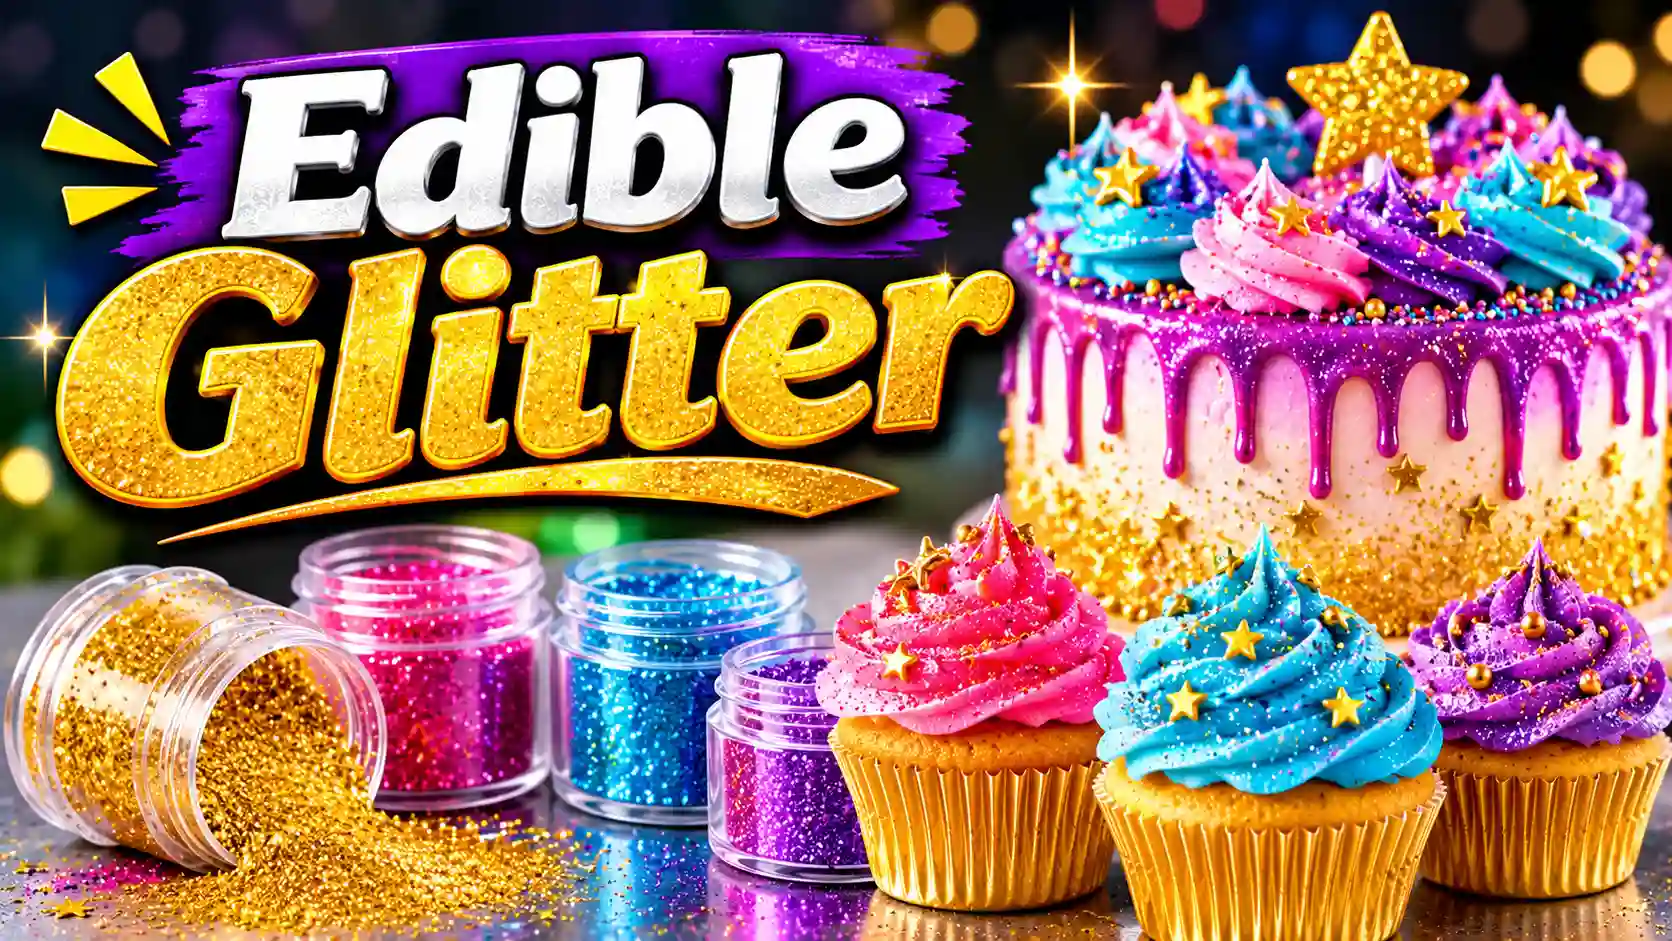
Creative Ways to Use Edible Glitter for Cakes, Cupcakes, Cookies, and Drinks
Edible glitter turns ordinary desserts into showstoppers. A light dusting creates shimmer; a focused application adds drama. This guide shows you exactly how to use edible glitter on cakes, cupcakes, cookies, and drinks—safely, beautifully, and without waste. You will learn which products work best for each surface, how to make glitter stick, and the critical safety rules every baker must know.
What Is Edible Glitter and How Does It Differ from Craft Glitter?
Edible glitter is a food-grade decoration made from mica-based pearlescent pigments, food coloring, and carriers like gum arabic or maltodextrin . It reflects light like craft glitter but dissolves safely in the digestive system. Craft glitter contains plastic or metal fragments and must never touch food. The FDA explicitly warns that decorative dusts labeled “non-toxic” or “for decorative purposes only” are not edible and should be removed before serving . Always verify a full ingredient list, lot number, and “edible” designation on the label before purchase.
Edible Glitter vs. Luster Dust vs. Sanding Sugar: A Quick Comparison
These three products look similar in a jar but behave very differently on a dessert. Choosing the right one determines whether you get a visible sparkle, an all-over sheen, or a crunchy texture.
| Product | Composition | Particle Size | Best Use | Visual Effect |
| Edible Glitter | Mica-based pearlescence + food color | Larger flakes (150–250 microns) | Drinks, accent points, bold sparkle | Visible, reflective flakes |
| Luster Dust | Mica-based pearlescence + food color | Fine powder | Fondant, buttercream, painted details | Smooth, all-over sheen |
| Sanding Sugar | Crystallized sugar + color | Coarse crystals | Cookie edges, rim garnishes | Crunchy texture, subtle sparkle |
Source: The Sugar Art, 2026
Use glitter when you want the sparkle to announce itself. Use luster dust when you want elegance without visible particles. Use sanding sugar when texture matters as much as shine.
The Golden Safety Rule: Read Every Label Before You Sprinkle
Not all that sparkles is safe to eat. Regulatory agencies worldwide have cracked down on decorative products falsely marketed as edible. Brazil’s Anvisa suspended multiple brands after laboratory tests detected plastic polymers—including micronized polypropylene—in products sold as culinary glitter . The FDA maintains that edible glitter must use only permitted food additives and colorants . Before buying, check three things on the label: (1) the word “edible” or “food grade,” (2) a complete ingredient list, and (3) a lot number and expiration date. If any of these are missing, do not put it on food.
How to Make Edible Glitter Stick to Cakes and Buttercream
Glitter adheres best to surfaces that still have tack. Apply it to buttercream, ganache, or whipped cream while the surface is fresh and slightly moist, before it crusts . Use a soft brush to dust from six to eight inches away, building layers rather than applying one heavy coat. For fondant—which dries to a smooth, non-sticky finish—brush a thin layer of piping gel, corn syrup, or water onto the target area first, then dust with glitter . Gravity works against you on vertical cake sides, so glitter placement on top surfaces holds far better than on side panels .
Quick Tips for Cakes:
- Apply glitter to the top edge or a drip line rather than coating the entire cake; accent placement creates more impact with less product .
- Use a stencil for geometric patterns on fondant.
- For a gold drip effect, add glitter to the ganache before it sets.
Cupcake Decorating: Frosting, Glitter, and the Perfect Finish
Cupcakes offer four distinct glitter zones: the frosting swirl, the wrapper rim, the center filling, and the topper. Frosting is the easiest starting point. Sprinkle edible glitter over buttercream immediately after piping, while the surface remains sticky. For a two-tone effect, dust gold glitter on one side of the swirl and silver on the other. To rim the cupcake wrapper, brush a thin ring of corn syrup around the top edge of the liner and dip it into a shallow dish of glitter before filling. For filled cupcakes, mix a pinch of glitter into the filling for a surprise shimmer when bitten. Edible shapes—stars, hearts, or themed cutouts made from glitter sheets—work beautifully as cupcake toppers and eliminate the need for plastic decorations .
Cookie Magic: Royal Icing, Painted Details, and Edible Shimmer
Cookies reward precision. The best glitter effects on cookies come from working with royal icing in two states: wet and dry.
Wet-on-Wet Application: Sprinkle glitter directly onto royal icing while it is still wet for full, even coverage. This technique works best for solid shapes or backgrounds.
Painted Details: For fine lines, lettering, or accent dots, mix edible glitter with a few drops of clear alcohol (like vodka) or lemon extract to create a paint. Apply with a fine brush over dried icing. The alcohol evaporates, leaving glitter precisely where you placed it .
Edge Treatment: Dip the rim of a cookie into corn syrup, then into sanding sugar or edible glitter for a defined border.
Avoid applying glitter to cookies with wet, glossy icing unless you want it to dissolve into the glaze rather than sit on top.
Drinks That Dazzle: Cocktails, Mocktails, and Celebration Beverages
Edible glitter transforms drinks by staying suspended and catching light with every stir. The key is choosing the right particle size and amount. Fine luster dust or “Ice Dust” style glitters work best in liquids because they disperse evenly and remain suspended for fifteen to twenty minutes . Larger flakes sink quickly and work better as a rim garnish.
Application Rules for Drinks:
- Dosage: Start with 1/8 teaspoon per glass or 1/2 teaspoon per pitcher .
- Best liquids: Clear or pale beverages—champagne, sparkling water, white wine, lemonade, and light-colored cocktails—show glitter most dramatically. Gold, silver, and pink glitters perform best in these bases .
- Timing: Add glitter just before serving. Stir gently once and let the shimmer do the work.
- Rim garnish: Wet the glass rim with citrus juice or simple syrup, then dip into edible glitter flakes for a sparkling border.
For celebrations, a pinch of gold glitter in champagne creates a floating constellation effect that photographs beautifully and costs pennies per glass .
Chocolate and Candy Melts: Timing Is Everything
Chocolate offers a unique advantage: it sets. Apply edible glitter while chocolate is still melted, and the glitter becomes permanently embedded as the chocolate hardens around it . This technique works for dipped strawberries, cake pops, pretzel rods, and chocolate bark. For chocolate that has already set, paint a thin layer of piping gel or a clear alcohol-based color solution onto the surface, let it become tacky, then dust with glitter. Do not press glitter into set chocolate with your fingers; the oils in your skin will dull the sparkle and the pressure knocks loose more glitter than it sets .
Spray Glitter: Fast Coverage for Large Surfaces
Edible glitter sprays deliver a fine, even mist without liquid propellants. They work best for large, flat surfaces—sheet cakes, tiered cake tops, or a batch of cupcakes lined up together. Hold the can six to eight inches from the surface and use short, light passes rather than one heavy coat . Spray glitter is ideal when you need coverage in seconds, but it offers less control than brush application. For precise work, stick with loose glitter and a soft brush.
Storage, Shelf Life, and Avoiding Clumps
Moisture is edible glitter’s enemy. Exposure to humidity causes clumping, dulls the sparkle, and can promote color bleeding . Store jars tightly sealed in a cool, dry place away from the stove or sink. Do not refrigerate glitter; condensation will form each time you remove the jar. If clumps develop, break them gently with a clean, dry spoon. Properly stored edible glitter maintains its shimmer for extended periods, though always check the expiration date before use on a special-occasion dessert. A small jar goes surprisingly far—most applications use less than a quarter teaspoon per serving .
Frequently Asked Questions
Does gold edible glitter contain real gold?
No. Gold-colored edible glitter gets its hue from mica-based pearlescence and food coloring, not metal. True edible gold leaf is a separate product made from hammered gold and is sold under that specific name .
Is edible glitter safe for children?
The particle size of food-grade glitter (150–250 microns) does not pose a choking hazard, but the real concern is ingredient safety. Always verify the product is explicitly labeled edible and contains only FDA-permitted food additives. Supervise young children to prevent overconsumption .
Can I use craft glitter on food if I remove it before serving?
The FDA advises against this. Craft glitter may contain plastic, metal, or other materials not approved for food contact. Residue can remain on the food surface even after removal. Use only products manufactured and labeled for edible use .
How much edible glitter do I need for a cake?
There is no fixed amount because glitter is an accent, not a coating. A single jar typically covers multiple projects when applied to edges, drip lines, or focal points. For a heavily glittered multi-tier design, buy one jar first and test the coverage before ordering more .
Why does my edible glitter sink in drinks?
Larger glitter flakes sink because they are denser than the liquid. Fine luster dust or “Ice Dust” formulations stay suspended longer—typically fifteen to twenty minutes. Stir gently before serving and use the finest glitter you have for beverages .
Does edible glitter dissolve or change the taste of food?
Edible glitter is flavorless and odorless. Mica-based glitter does not dissolve in water or alcohol; it remains suspended or sits on the surface. Sanding sugar, by contrast, dissolves and adds sweetness. Choose based on whether you want visible sparkle or a flavored finish .
Your Next Sparkling Creation Starts Now
You now hold the knowledge that separates a dull dessert from an unforgettable one. The difference is not more glitter—it is smarter application. Check your labels with the same care you give your ingredients. Match the product to the surface. Apply with intention, not excess. Then step back and watch faces light up.